How to create and configure a SharePoint Search service application?
- Create accounts
- Create a Search service application
- Configure the Search service application
- Configure the Search service application topology
Register a managed account by following these steps.
- Open the "Central Administration" home page, in the "Quick Launch", click "Security".

- On the Security page, in the "General Security" section, click "Configure managed accounts".
- On the "Managed Accounts" page, click "Register Managed Account".

- On the "Register Managed Account" page, in the "Account Registration" section, type the user name and password that you want to use as credentials for the service account.

- If you want SharePoint Server 2013 to manage password changes for this account, select the "Enable automatic password change" check box and configure the parameters for automatic password change.
- Click OK.
Create the Search Service application by following these steps:
- On the "Central Administration" home page, in the "Application Management" section, click "Manage service applications".
 2. In the "Manage Service Applications" page, on the ribbon, click "New", and then click "Search Service Application".
On the Create New Search Service Application page, do the following:
- Enter the Search Service Application name.

In the "Search Service Account" list, select the account that you registered in the previous procedure to run the Search service.
In the "Application Pool for Search Admin Web Service" section, do the following:
- Select the "Create new application pool" option, and then specify a name for the application pool in the "Application pool name" text box.

- In the "Select a security account for this application pool" section, select the "Configurable" option, and then from the list select the account that you registered to run the application pool for the Search Admin Web Service.

- In the "Application Pool for Search Query and Site Settings Web Service" section, do the following
- Choose the "Create new application pool" option, and then specify a name for the application pool in the "Application pool name" text box.
- In the "Select a security account for this application pool" section, select the "Configurable" option, and then from the list select the account that you registered to run the application pool for the Search Query and Site Settings Web Service.
- Click "OK".
Configure the SharePoint Search service application
You configure a Search service application on the Search Administration page for that service application. Use the following procedure to go to the Search Administration page for a particular Search service application.
- Go to the Search Administration page
- Verify that the user account that is performing this procedure is an administrator for the Search service application that you want to configure.

- Please add the administrator account on the next screen.

- On the home page of the Central Administration website, in the Application Management section, click Manage service applications.
- On the Manage Service Applications page, click the Search service application that you want to configure.
On the Search Administration page, configure the settings as described in the following sections:
- Specify the default content access account
- Specify the contact email address
- Create content sources
Specify the default content access account
Use the following procedure to specify the default content access account:
- On the "Search Administration" page, in the "System Status" section, click the link in the default content access account row.
- In the "Default Content Access Account" dialog box, in the "Account" box, type the account that you created for the content access in the form domain\user name.
- Type the password for this account in the "Password" and "Confirm Password" boxes.
- Click "OK".
Specify the contact email address
Use the following procedure to specify the contact email address:
- On the "Search Administration" page, in the "System Status" section, click the link for the contact e-mail address.
- In the "Search E-mail Setting" dialog box, in the E-mail Address box, type the email address that you want to appear in the logs of servers that are crawled by the search system.
- Click "OK".

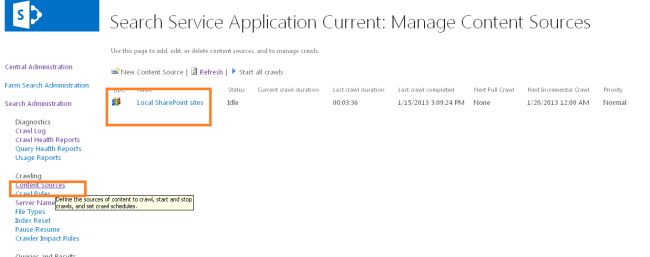
Configure Content Source
Use the following procedure to configure the content source:
- Click on the content source on the right side as shown below:
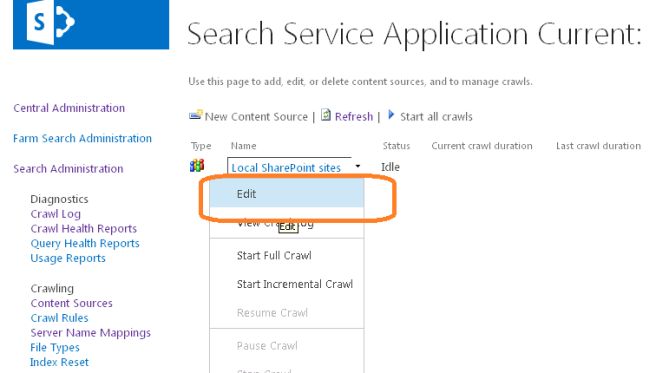
- Click on the Edit as shown below for the Local SharePoint Sites:
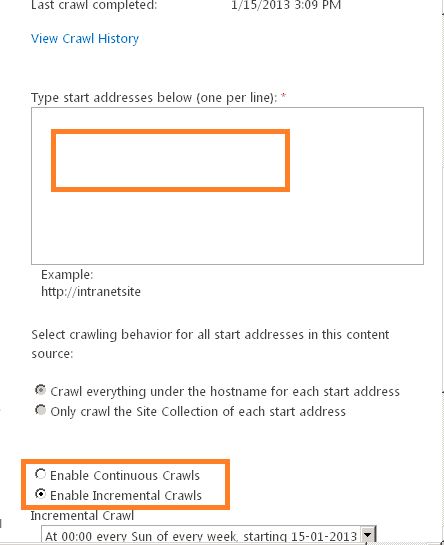
- Please make sure you have added your site URL in the following rectangular space with each site in a separate new line.
- Please configure an incremental crawl and a full crawl.
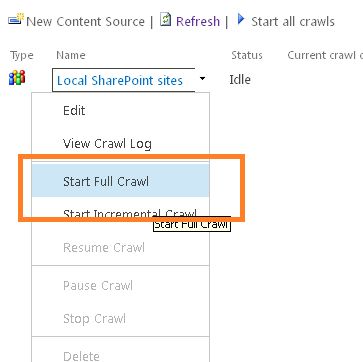
- Once you are done with the steps above, please start a full crawl.
- Please wait until the crawl is over. It will take some time to finish the crawl.
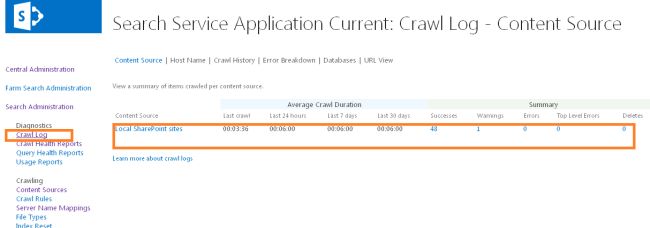
- You can click on the Crawl Log and you will see the contents that were crawled, as in:
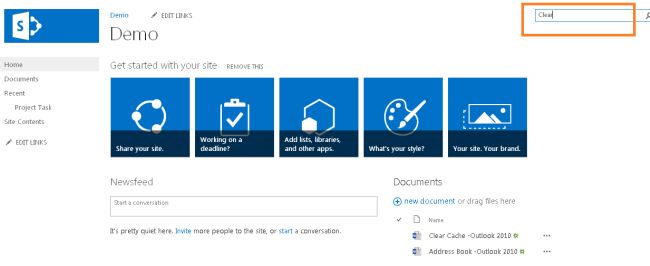
- Now go to the site which we have added to the content source and enter something to search for as shown below:
- You will see the results once the search button is clicked, as in:
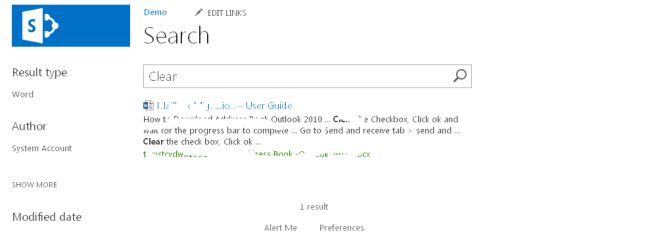
- We even can now apply filters with a progress bar. That's a Great thing. When you wait on a searched element, you will even be prompted by a new great tool where you can:


- Open the searched element
- View the library
- Send the searched element.


Comments
Post a Comment